
Key Takeaway
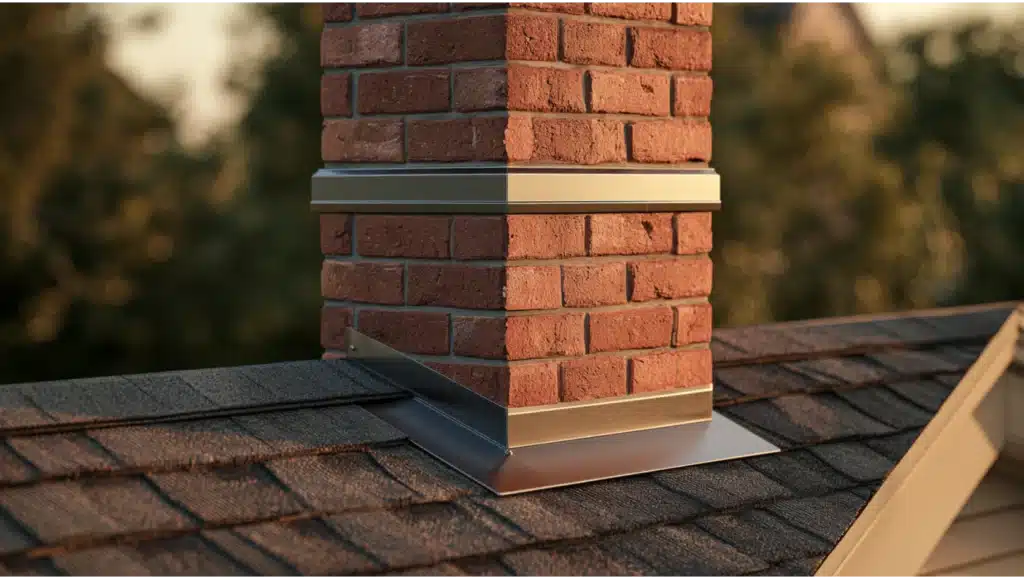
Roof flashing is the corrosion-resistant metal installed at every roof transition and penetration, including chimneys, walls, valleys, vents, and skylights, to direct water away from the roof deck and framing. Improper roof flashing installation is one of the most common causes of roof leaks, with failure points most often appearing near chimneys and roof-wall intersections. Flashing works through shingle-style layering, where every upper material laps over the one below it, and no amount of caulk substitutes for that correctly built water path.
If you’re staring at a fresh water stain on the ceiling or chasing a leak that keeps coming back after every storm, there’s a good chance roof flashing is the culprit. Roof flashing is the corrosion-resistant material installed at roof transitions, penetrations, valleys, chimneys, walls, and edges to move water down, out, and away before it ever reaches the roof deck or wall framing. Leaks usually start when flashing is missing, deteriorated, reused from an old roof, sealed with caulk instead of properly layered, fastened in the wrong spot, or never integrated with the underlayment. Improper flashing installation is one of the most common causes of roof leaks, and those leaks tend to show up near chimneys and vents. Done right, roof flashing works as a water-management system, not a patch. This article is for homeowners who want to understand what’s actually happening on their roof before approving any repair.
Why Roof Flashing Matters More Than Homeowners Realize
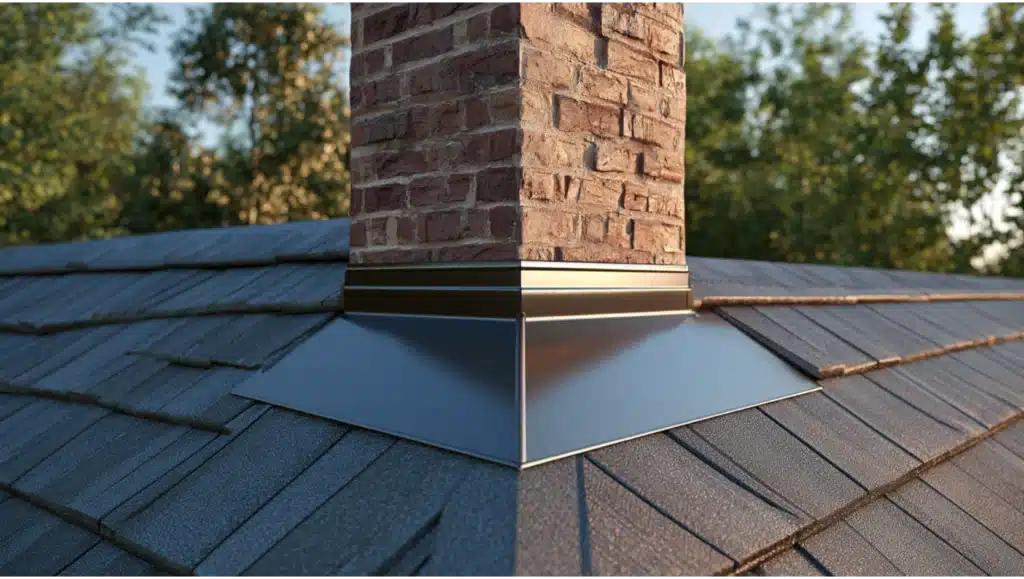
Shingles do the bulk of the work, shedding water across the open field of the roof. But shingles only handle the simple parts. Roof flashing takes over at every spot where the roof stops being a flat plane and becomes a transition: a wall, a chimney, a valley, a pipe. Those transitions are exactly where water wants to sneak behind the surface, because water follows the path of least resistance and will find any gap you leave it.
Here’s what makes flashing failures so frustrating. A leak can enter the roof at a chimney and travel along a rafter before it drips through the ceiling ten feet away. Homeowners see a stain in one room and assume the problem is directly above it, when the real entry point is somewhere else entirely. That’s why flashing leaks so often get misdiagnosed and repeatedly “fixed” in the wrong place.
Most homeowners never look at their roof until damage is already visible inside. Studies suggest roughly 73% of homeowners don’t inspect their roofs until they can see a problem, and by then a small gap in the flashing has usually been letting water in for a while. Flashing is one component of a complete roofing system, and it deserves regular attention like any other part of that system. Understanding roof flashing early is what separates a small repair from a major one.
Where Is Roof Flashing Installed on a Roof?
Roof flashing lives wherever the roof plane is interrupted. If you know where to look, you know where leaks are most likely to begin.
- Roof-to-wall intersections: Where a sloped roof meets a vertical wall, either along the side (sidewall) or at the top (headwall). These are among the highest-risk leak areas on any roof, and they call for either step flashing or continuous flashing depending on the layout.
- Chimneys: Chimney flashing wraps the base and sides of the chimney to create a sealed transition between masonry and roof.
- Roof valleys: Where two sloping roof planes meet, valley flashing carries a heavy volume of runoff down the seam.
- Plumbing vents and pipe boots: Every vent pipe that pokes through the roof needs plumbing vent boot flashing to seal around it.
- Skylights: Skylight flashing frames the opening and directs water around it, and skylight manufacturers often supply their own flashing kit sized to the unit.
- Drip edges: Drip edge flashing along the eaves and rakes guides water off the roof and away from the fascia.
- Solar and rooftop HVAC penetrations: Every new hole through the roof, including solar mounts and rooftop HVAC curbs, has to be flashed and sealed as part of the roofing system.
The rule is simple: every penetration through the roof plane is a potential entry point, and every one of them has to be flashed. Many roof features, from pipes to curbs, come with their own flashing designed for that exact detail. When we install solar or rooftop HVAC, those penetrations are treated as part of the roof, not an afterthought.
Where Do Roof Leaks Usually Start?
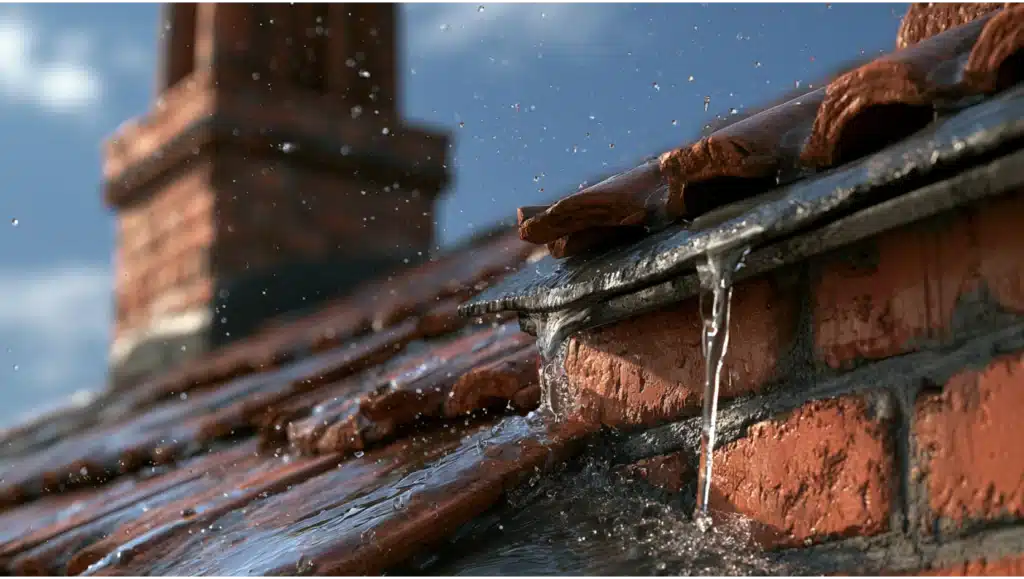
Roof flashing rarely fails randomly. It fails in predictable places, usually because a detail was skipped, rushed, or reused. Here are the leak points and roof flashing problems we see most often.
- Missing or inadequate kickout flashing: Where a roof-wall termination meets the gutter line, missing kickout flashing lets runoff pour straight down the wall instead of into the gutter, rotting the wall below.
- Step flashing installed or reused incorrectly: Step flashing pieces have to overlap in the right order. Reused or misaligned flashing pieces let water slip behind them.
- Counter flashing not integrated into masonry: On chimneys, counter flashing should tuck into the mortar joints. Surface-mounted or caulked-on counter flashing tends to pull loose.
- Valley flashing underlapped or damaged: Improper overlaps can actually let water flow backward underneath the flashing in heavy runoff.
- Cracked rubber pipe boots: The rubber collar around a vent pipe dries out and splits after years of sun exposure, and that’s a classic slow leak.
- Drip edge flashing missing or layered wrong: Without it, or with the underlayment lapped the wrong way, water tracks back onto the fascia and sheathing.
- Reused flashing on a new roof: Old, bent, or rusted flashing pieces carried over onto a fresh roof undermine the whole install.
- Exposed or loose fasteners: Nails driven where they shouldn’t be, or backing out over time, create direct holes for water.
- Sealant-only “roofing cement” repairs: Cement smeared over a bad joint dries, cracks, and fails, usually right where you can’t see it. Missing sealant at a properly built joint is a different, smaller problem than relying on cement alone.
- Debris holding water: Leaves and buildup at roof-wall intersections or around roof attachments trap moisture against the flashing.
One thing that makes flashing leaks sneaky: some claddings hide the damage. Building America notes that fiber cement, vinyl siding, and brick veneer can mask roof-wall water intrusion for years, so the wall framing and insulation behind them may be damaged long before anything shows on the surface.
How Should You Install Roof Flashing?
Proper installation of roof flashing comes down to one building-science principle: shingle-style layering. Every upper material laps over the material below it, so water always sheds down onto the next layer and never behind it. Building America is explicit that roof-wall flashing must be integrated with both the roof and the wall drainage planes in shingle fashion. Get the layering wrong and no amount of sealant will save it.
Good flashing also has to be the right material and fastened correctly. The flashing materials should be corrosion-resistant metal, overlapped properly, and mechanically fastened in spots that won’t create new leak paths. Sealant has a role, but only as part of a manufacturer-approved detail. It is never the primary thing keeping water out. Properly installed flashing should hold up on its own without relying on caulk to form a waterproof seal.
Owens Corning frames a roof as a complete system built around three jobs: seal, defend, and breathe. That includes ice and water barrier, underlayment, starter shingles, shingles, hip and ridge shingles, and ventilation. Flashing is one piece of that system, and it only works when it’s integrated with everything around it. The manufacturer’s approved instructions and your local code govern how you install roof flashing on the final job, and a good crew follows both.
The Main Types of Roof Flashing and How Each Works
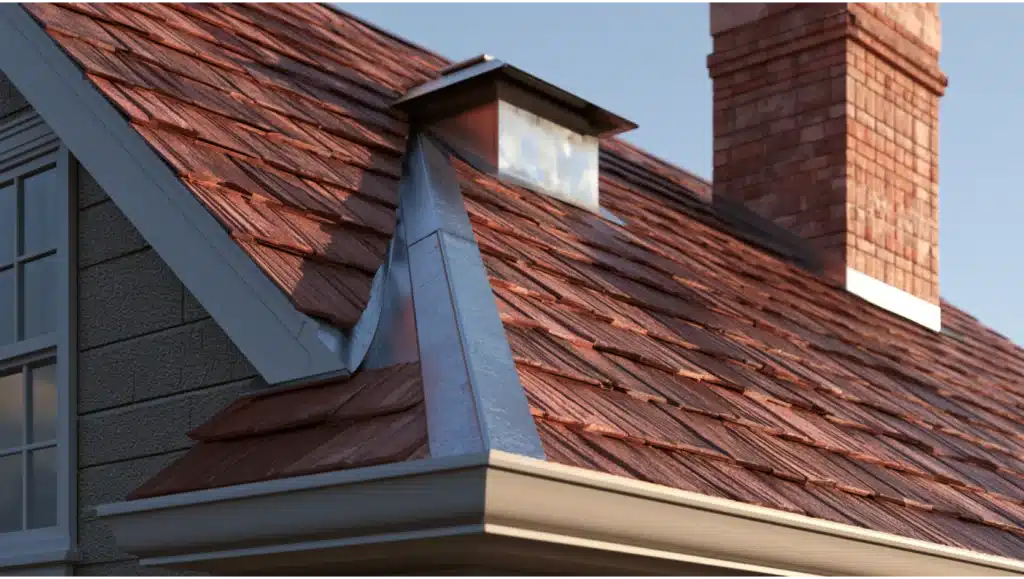
Different transitions call for different flashing. Knowing the types of roof flashing helps you understand what a roofer is talking about and whether the right detail is being used in the right place. Roof flashing sizes also vary by transition, so the same roof can carry several different pieces.
Step Flashing and How to Install Kickout Flashing
Step flashing is a series of individual thin metal flashing pieces, each bent at 90 degrees, woven into the roof shingles as they climb a sidewall. Each piece of flashing overlaps the one below it so water always steps down onto the shingle surface. Owens Corning specifies step flashing at least 4 by 4 by 8 inches, and at least 2 inches wider than the shingle exposure at sidewalls and chimneys. At the bottom of that run, where the roof meets the wall near the gutter, kickout flashing directs water into the gutter instead of down the wall. When crews install kickout flashing correctly, that small piece prevents a large amount of hidden wall damage.
Chimney Flashing, Base Flashing, and How Counter Flashing Completes the Joint
Chimney flashing is a two-part system. Base flashing and apron flashing sit against the chimney and lap over the roof, and counter flashing completes the assembly by tucking into the masonry mortar joints and folding down over the base flashing to seal the top edge. Cap flashing protects doors, windows, and masonry openings the same way, shedding water over the piece below it rather than behind it. That layered pairing is what makes the joint watertight, because the counter flashing sheds water onto the base flashing rather than behind it. On wider chimneys, a cricket (a small peaked ridge) is built on the uphill side to split water around the chimney rather than letting it pond against the back wall.
Apron Flashing, Head Flashing, and Continuous Flashing
Where a roof plane runs into the face of a vertical wall, continuous flashing or head flashing bridges that joint. It’s a single length of formed sheet metal rather than individual steps, tucked up under the wall covering and lapped over the roof below. Apron flashing is also used at the low side of a chimney, where it aprons out over the shingles to carry water past the masonry.
Valley Flashing
Valley flashing protects the seam where two roof planes meet and channels a concentrated stream of water. It comes in two styles: open metal valleys, where the metal flashing lining stays exposed, and closed valleys, where shingles are woven or cut over the lining. Both need the right width and proper layering to handle the volume.
Pipe Boot, Vent, and Skylight Flashing
Plumbing vent boots seal around round pipes, and vent pipe flashing is sized to the vent pipe’s diameter so the collar fits snugly. Vent flashing handles exhaust and attic vents, and skylight flashing frames the sides, top, and bottom of the skylight. Each is a penetration seal, and each is only as good as its integration with the surrounding shingles. Many of these arrive as premade flashing pieces matched to a specific pipe or curb.
Roof Flashing Materials: Galvanized Steel, Aluminum Flashing, and Copper Roof Flashing
The roof flashing materials matter, because corrosion resistance is the whole point. Rusted flashing is failed flashing.
- Galvanized steel: The most common choice and the code-referenced baseline. Galvanized steel flashing is strong, widely used, and dependable when properly coated. Most step flashing pieces and drip edge flashing you’ll see on a Northern California roof are usually galvanized steel.
- Aluminum flashing: Lighter and easier to bend and form than steel, which makes aluminum flashing good for detailed work. It has to be isolated from incompatible metals and from direct contact with masonry or concrete, which can corrode it.
- Copper roof flashing: Durable and long-lasting. We routinely find copper flashing on older, well-built homes, where it has oxidized to a green patina over time. Copper sits at the premium end of the range, and it’s a common choice for chimneys and high-visibility details.
The shared requirement across galvanized steel, aluminum flashing, and copper is corrosion resistance, and that’s exactly why cheaper, thinner, or mismatched metal fails early. We choose the material that fits the detail and the roof, not the one that shaves a few dollars off the job. The right metal in the right place is what makes a repair last.
Code-Backed Flashing Details Homeowners Should Know
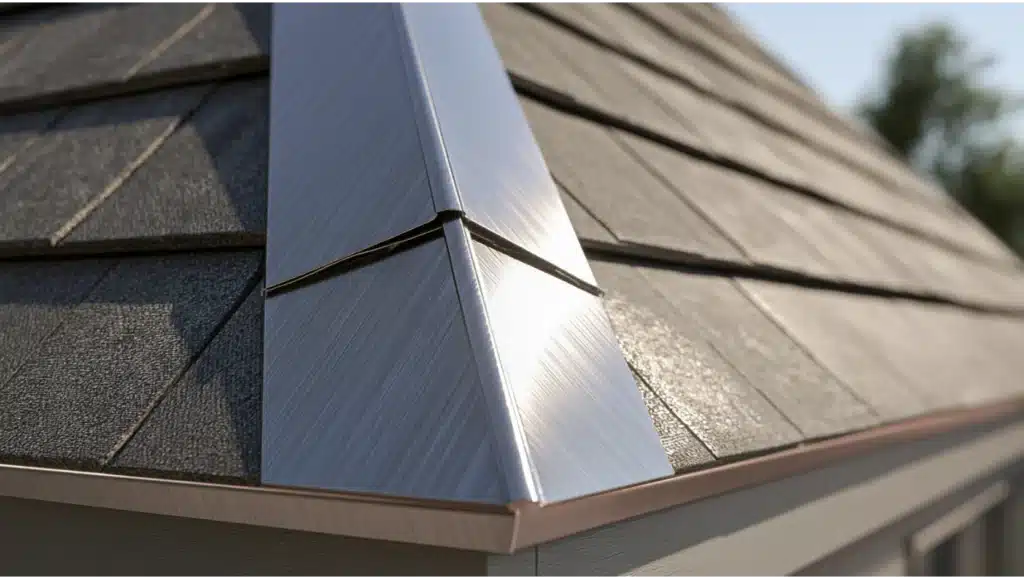
You don’t need to be a roofer to spot a problem. A handful of code-backed benchmarks give you a reasonable sense of whether the work looks right. These come from the 2024 International Residential Code as a national baseline, and the National Roofing Contractors Association publishes detailed guidance that professional installers reference alongside it.
- Metal thickness: Metal roof flashing must be corrosion-resistant and at least 0.019 inch (0.5 mm) thick, equivalent to No. 26 galvanized steel sheet.
- Sidewall and step flashing: At least 4 inches high and 4 inches wide, directing water onto the roof or into the gutter.
- Open metal valley: The exposed valley lining should be at least 24 inches wide.
- Drip edge flashing: Adjacent flashing edges overlap at least 2 inches, extend at least 1/4 inch below the roof sheathing and at least 2 inches back onto the roof deck, and are fastened no more than 12 inches on center. This is the standard way to install drip edge flashing.
- Chimney cricket: Required when the chimney’s width parallel to the ridge is greater than 30 inches and doesn’t reach the ridge.
For asphalt shingle roofs, flashing has to follow both the code and the shingle manufacturer’s approved instructions, since the correct detail can change by product. On low-slope sections, roofing professionals occasionally reach for modified bitumen roofing tape or asphalt cement as part of an approved detail, but neither replaces properly layered metal. Local code and product instructions govern the final install. Think of this as a way to ask better questions, not as legal advice.
Is Caulk Enough to Fix Damaged Flashing?
Usually not, at least not as a lasting repair. Sealant or roofing cement can be part of a manufacturer-approved detail, but it should never be the only thing holding water out. There are several roof flashing sealant types, and each has a specific approved use, not a catch-all one. Sun exposure and daily thermal cycling dry sealant out and crack it after a few years, which means a caulk-only fix quietly hides a bad water path while buying a little time. The leak comes back, often worse, because water kept moving behind the surface the whole time. Properly installed flashing is built to shed water on its own and form a lasting waterproof seal at the joint. Done once, done right means rebuilding the water path, not smearing over the symptom of damaged flashing.
Can You Repair Roof Flashing, or Should It Be Replaced?
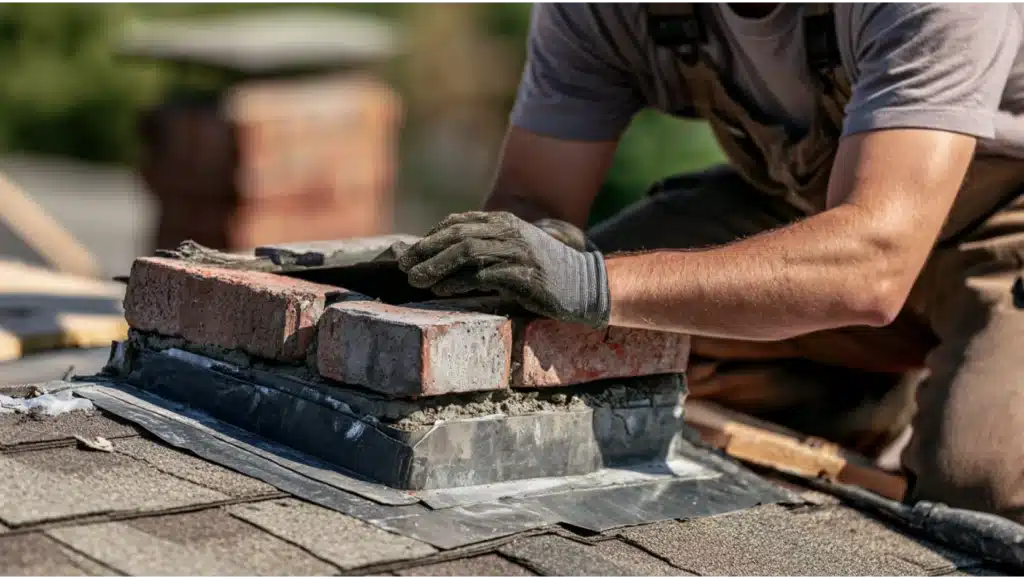
It depends on the condition of the flashing and everything around it. To repair roof flashing may be the right call when the damage is isolated and the surrounding roof materials are still sound. A single cracked pipe boot or one bent piece of flashing can sometimes be addressed without touching the rest of the roof.
You need to replace roof flashing when it is rusted, cracked, or bent, when it was installed incorrectly in the first place, when it was reused from an old roof, when it’s embedded behind damaged siding or stucco, or when it’s tied into a roof that’s near the end of its life anyway. Rust and corrosion in particular tend to spread, so patching around them rarely holds. And any flashing carried over onto a new roof should be evaluated by a roofing professional before it’s trusted. The goal is to protect your investment, not to patch a symptom and hope. A proper inspection by a professional roofer tells you which path actually fits your roof, without guessing. Roof materials naturally expand and contract with temperature, and a piece of flashing that was fastened too tightly can work loose over years of that movement.
Warning Signs of Flashing Failure
Most flashing failures announce themselves before they become emergencies, if you know what to watch for. Check for these signs, especially after severe weather.
- Water stains on ceilings, which very often trace back to a flashing leak.
- Wall stains near chimneys or roof-wall corners.
- Peeling paint at roof-wall intersections.
- Damp or discolored attic sheathing where it meets the roof deck.
- A musty smell that shows up after rain.
- Water trails or streaks around vents and skylights.
- Stains that only appear after wind-driven rain.
- Leaks that keep returning after previous sealant work.
Checking these regularly, and especially after a storm, catches small problems while they’re still small. A minor gap in the flashing surface caught early stays a minor repair. Even if you know your own roof well, some of these signs are only visible on the roof’s surface, which is a reason to bring in a set of trained eyes.
Roseville and Northern California Considerations

Flashing here faces a specific rhythm. The Sacramento Valley runs through long, dry, hot summers, and more than half of the annual rain historically falls between November and February. That means flashing bakes and expands through months of heat, then gets tested all at once when the winter rains arrive. Heat is hard on sealants and aging rubber pipe boots, so a boot that looked fine in August can crack and leak by January. It’s also why the galvanized steel and aluminum flashing on local roofs need to be sized and fastened to move with those temperature swings.
If you’re replacing a significant portion of your own roof in Roseville, keep the permit side in mind. The city’s 2025 residential re-roof documentation lists Roseville as Climate Zone 11 and notes that when 50% or more of the roof is replaced, energy-code roofing requirements are triggered under the current California Energy Code. Wildfire hardening matters here too. CAL FIRE identifies the roof as one of the most vulnerable parts of a home and calls for Class A-rated roof coverings, along with keeping roofs clear of the debris that collects at wall intersections and around roof attachments. Some of that hardening involves special flashing material rated for ember resistance at vents and edges. We serve Roseville and the surrounding area from our local office at 503 Giuseppe Ct, Roseville, CA 95678.
How Cobex Inspects and Repairs Flashing
Our process starts by finding the actual water path, not the nearest stain. We inspect the roof, trace where water is really entering, and then repair or replace the affected flashing along with the components tied into it, because flashing only works when it’s integrated with the underlayment, shingles, and wall drainage plane around it. Whether the fix is a single piece of flashing or a full run of step flashing along a sidewall, we rebuild it to shed water on its own. Throughout the job, we keep you in the loop with clear updates and documented findings, so you understand what we found and what we’re recommending. No surprises. We’re a family-owned and operated exterior contractor, CSLB License #1031864, with in-house crews rather than subcontractors handing off the details. If you see stains or suspect flashing damage, we’ll take a look and give you a free, no-obligation estimate.