
Key Takeaway
Ice dams on a roof form when heat escaping from the living space warms the upper roof deck above 32°F, melts snow, and that water refreezes at the colder eaves, building a ridge that forces water under shingles and into the home. Stopping ice dams before they start means keeping the roof deck cold and uniformly below freezing by sealing attic air leaks first, then adding insulation to levels of R-49 to R-60 in colder climates, and maintaining continuous soffit-to-ridge ventilation. A sound roof with proper flashing and an ice-barrier membrane completes the system.
Ice dams form when heat escaping your home warms the upper part of the roof, melts the snow sitting on it, and that meltwater runs down and refreezes when it reaches the colder eaves. A ridge of ice builds up, water backs up behind it, and eventually that water finds its way under the shingles and into your home. The lasting fix isn’t a gadget on the roof. It’s keeping the roof deck cold and even across the entire roof: air-seal the attic, add insulation, keep ventilation moving, and make sure the roof itself is sound. If you’ve spotted ice along your eaves, had a mystery leak in the middle of winter, or you own a foothill or mountain property and want to prevent ice dams before they start, this is for you.
What Is an Ice Dam?
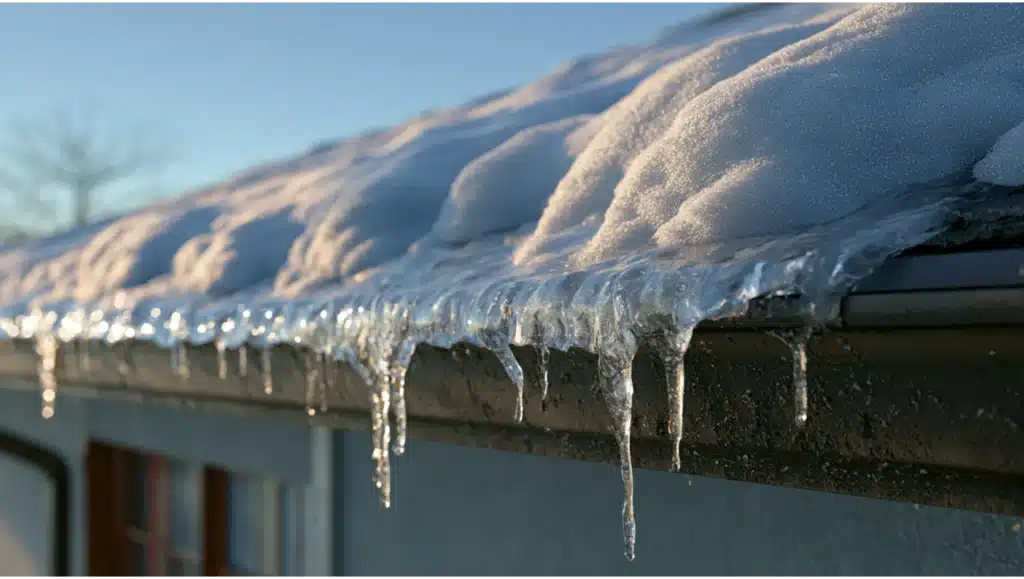
An ice dam is a ridge of ice that forms at the edge of your roof and blocks melting snow from draining off the way it should. That sounds harmless. It isn’t. As snow keeps melting higher up, the water has nowhere to go, so it pools behind the ice and works its way under your shingles.
From there, it can leak into ceilings, run down inside walls, and soak attic insulation. You end up with water stains, wet insulation that no longer does its job, mold growth, and in worse cases, damaged shingles and rotted roof framing. Roof ice dams are one of the quieter ways a roof causes expensive interior damage, because the trouble often starts before you ever see a drip inside. By the time you need to repair interior damage, the melted water has usually been at work behind your walls for a while.
How Does Ice Dam Formation Happen? The Freeze-Thaw Cycle
Three things have to line up for ice dam formation to begin:
- Snow on the roof. There has to be snow to melt.
- Uneven roof temperatures. The upper roof sits above 32°F while the lower roof and eaves stay below 32°F.
- Meltwater refreezing at the edge. Water melts up top, runs down, and freezes solid again when it hits the cold eave.
That 32°F split is the whole story. When the top of the roof is warm enough to melt snow but the edge is still below freezing, you get a steady drip-and-freeze cycle that stacks ice into a dam. Snow makes it worse, because snow itself insulates the roof deck at roughly R-1 to R-2 per inch. A deep blanket of it, especially after heavy snowfall or high snow fall over several days, can hold enough heat against the roof to keep the upper surface melting even when the outside air is well below freezing. The root cause here isn’t the ice. It’s a roof surface that isn’t the same temperature from top to bottom, and that uneven warming is what creates ice dams in the first place.
The Real Source Is Usually Heat Loss and Air Leak
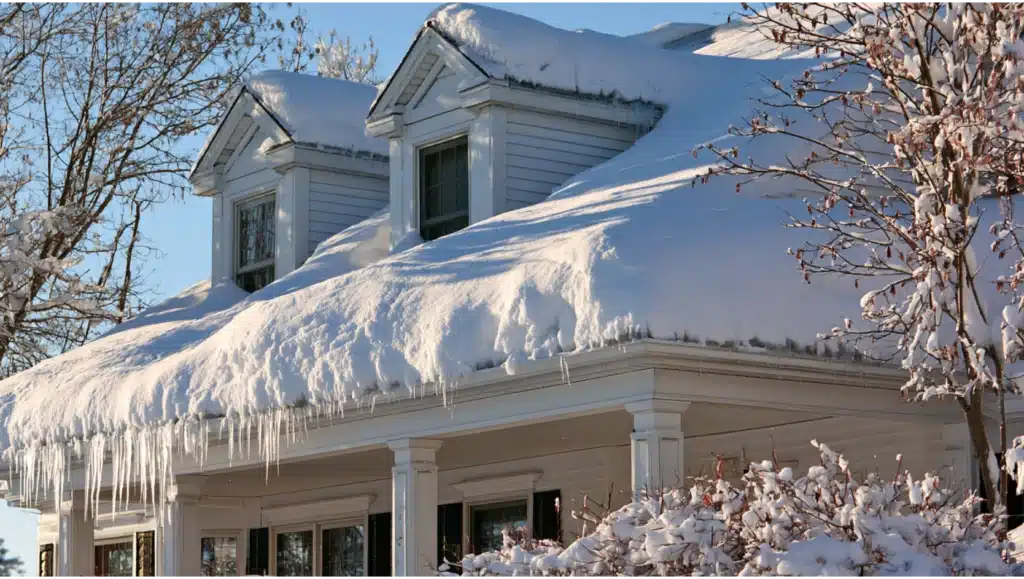
Here’s the part most homeowners miss: the dam shows up on the roof, but the cause almost always starts below the roof deck. This is fundamentally a heat transfer problem. Heat energy reaches the underside of your roof by conduction and radiation, and especially by warm air leaking up out of your living space into the attic space. Warm that deck unevenly, and you’ve built the exact temperature split an ice dam needs.
The usual sources of that excessive heat loss and air leakage:
- Air leaks in the attic floor that let warm air rise out of the house and attic space
- Inadequate insulation or compressed insulation, especially near the eaves
- An unsealed attic hatch or one with no insulation on top
- Recessed lights punching up into the attic
- Bathroom, kitchen, and dryer vents that dump warm, moist air into the attic instead of outside
- Exhaust ducts, plumbing vents, and chimneys
- Knee wall spaces behind finished attic rooms that leak conditioned air
- HVAC ducts running through unconditioned attic space
This is why the order of prevention matters. You can pile on insulation, but if warm air is still leaking straight past it, you haven’t fixed the real problem. Making the ceiling air tight comes first, and everything else works better once it’s done. Energy professional weatherization contractors often run a blower door test to pinpoint where air is escaping, and an infrared camera can show cold and warm spots in the ceiling plane you’d never catch by eye. If you can see where light shines through around a fixture or hatch, air is moving through that same gap.
Roof and Exterior Factors That Make Ice Dams Worse
Heat loss creates the condition, but the shape and condition of your roof can amplify it. Valleys, dormers, and pitch changes collect snow and create cold spots where meltwater slows down and freezes. Deep overhangs stay colder than the heated section of roof behind them, which is a classic freeze point where cold air keeps the surface below 32°F.
Below the surface, blocked soffit vents choke off the airflow that’s supposed to keep the deck cold. Poor attic ventilation lets warm air pool right under the sheathing. Clogged or frozen gutters and downspouts make drainage worse once melting starts, so clearing them before winter genuinely helps. Roof penetrations, chimneys, skylights, and vents, all give backed-up water a place to sneak in if the flashing isn’t right.
Solar panels and rooftop HVAC aren’t the cause of ice dams, but in snow country they need proper flashing and thoughtful layout so they don’t create new leak points. When we install rooftop equipment, penetrations are sealed and integrated into the roof’s water-control layers, not just bolted on.
Signs You May Have an Ice Dam
Watch for these:
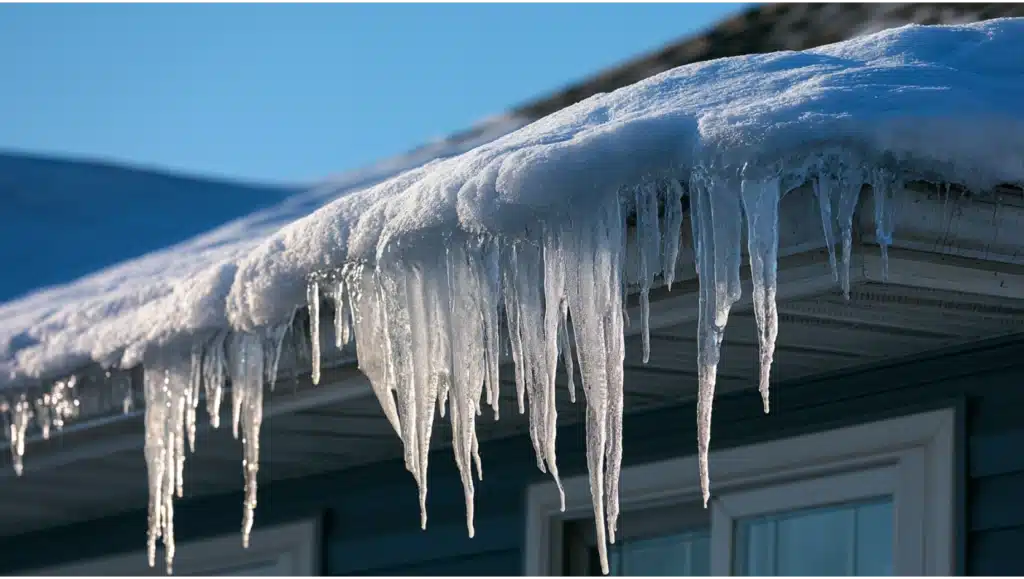
- A visible ridge of ice at the eaves
- Large icicles hanging off the roof’s edge
- Water stains on ceilings or exterior walls
- Wet or matted attic insulation
- Ice packed into the gutters
- Leaks that appear during a thaw, then stop
Icicles on their own aren’t proof of a dam, but they’re a warning that meltwater is refreezing at the edge. Pay attention to them.
What to Do If You Already Have an Ice Dam
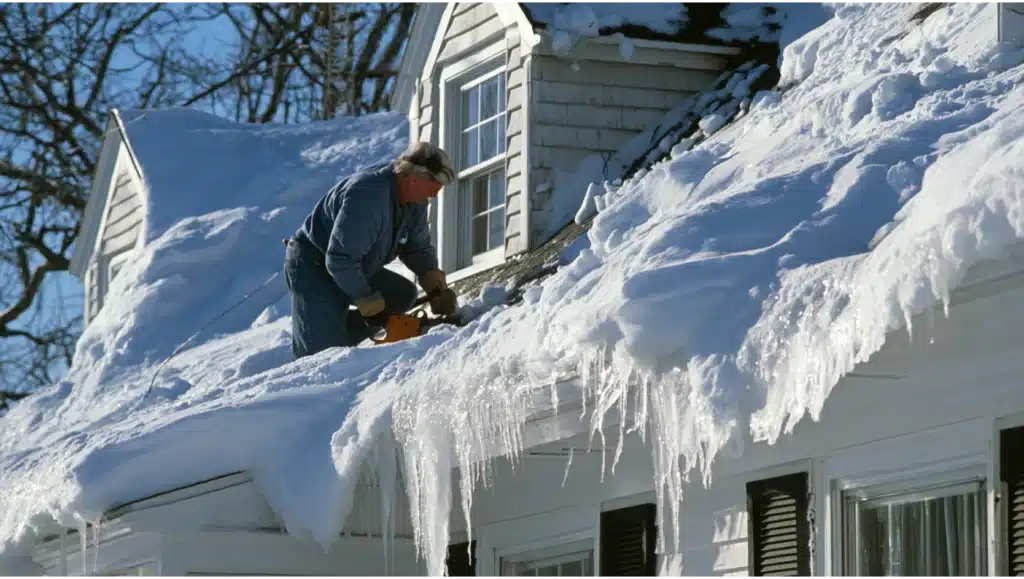
If water is coming in, that’s stressful, and the instinct is to get up there and deal with it. Don’t. Winter roof work is genuinely dangerous, and rushing it usually causes more damage. Here’s the safe path:
- Stay off icy roofs. A ladder on frozen ground is not worth it.
- Use a roof rake from the ground to remove snow accumulation off the lower roof, only if you can do it safely. A roof rake lets you pull down the lower few feet of snow without ever leaving the ground.
- Don’t chip at the ice. Hacking at a dam damages shingles, gutters, flashing, and siding.
- Use calcium chloride, not rock salt, to melt a drainage channel through the dam if needed. Calcium chloride is gentler on shingles and metal than rock salt.
- If water is entering, move belongings out of the way, take photos to document the damage, and dry wet materials within 24 to 48 hours to help head off mold, per EPA guidance.
For active leaking, heavy ice, or any sign of roof damage, call a roofing professional. Pros have the equipment to clear a dam safely and reduce the risk of making it worse.
How to Stop Ice Dams Before They Start
Prevention is a sequence, and the order isn’t optional. Do these in this order to keep ice dams from forming.
Seal air leaks first to keep the ceiling airtight
Find and seal the penetrations in your attic floor: around the hatch, recessed lights, ducts, electrical cables, and vent pipes. Wiring runs and electrical cables often leave small gaps in the ceiling plane that let warm air slip through. Around heat-producing fixtures like chimneys and flues, use fire-rated materials such as fire stop sealant or fiber reinforced mastic. Canned spray foam near a heat source is a fire hazard, so keep it away from anything hot and stick to rated products. Sealing these paths is the single most effective step to prevent ice from forming at the eaves.
Adding attic insulation
Once the leaks are sealed, added insulation can do its job. If you’re wondering how much insulation you actually need, ENERGY STAR commonly recommends R-49 to R-60 for colder climate zones. Most common insulation runs about R-3 to R-3.5 per inch, which helps you gauge what you already have by measuring its depth. Foil faced fiberglass batts add a small radiant benefit in some assemblies. The National Weather Service uses a simpler baseline of R-30 minimum, with R-38 preferred in northern climates. A well-insulated attic space keeps household heat from reaching the deck, so the surface stays cold and even. Insulation always performs better after air-sealing, not before.
Maintain attic ventilation and exhaust systems that lead outdoors
Continuous soffit vents with a ridge vent paired above keep the roof deck near the outside temperature, which is exactly what you want. That steady flow of cold air under the deck is what stops warm air from pooling and melting snow unevenly. Make sure bath, kitchen, and dryer ducts lead outdoors rather than into the attic, and confirm those combustion devices and fans operate safely and vent enough air to the exterior. Keep intake airflow clear with baffles so insulation doesn’t smother the soffit vents at the eaves. Blocked intake is one of the most common reasons ventilation systems fail.
Inspect and protect the roof deck across the entire roof
Repair damaged roof shingles, worn flashing, and problem valleys, and address any underlayment issues across the entire roof. Confirm the house framing can withstand expected snow loads, since sagging or overstressed structure invites both leaks and standing snow. Heavy winters can pile on additional snow load faster than an older structure was designed for, so if you have doubts, an architectural engineering firm can evaluate the capacity. If you’re reroofing, that’s the right time to add an ice-barrier membrane where it makes sense. A properly cold and even deck prevents melting snow from refreezing at the edge and keeps ice dams from forming for the long term.
Does Ice-and-Water Shield Prevent Ice Dams?
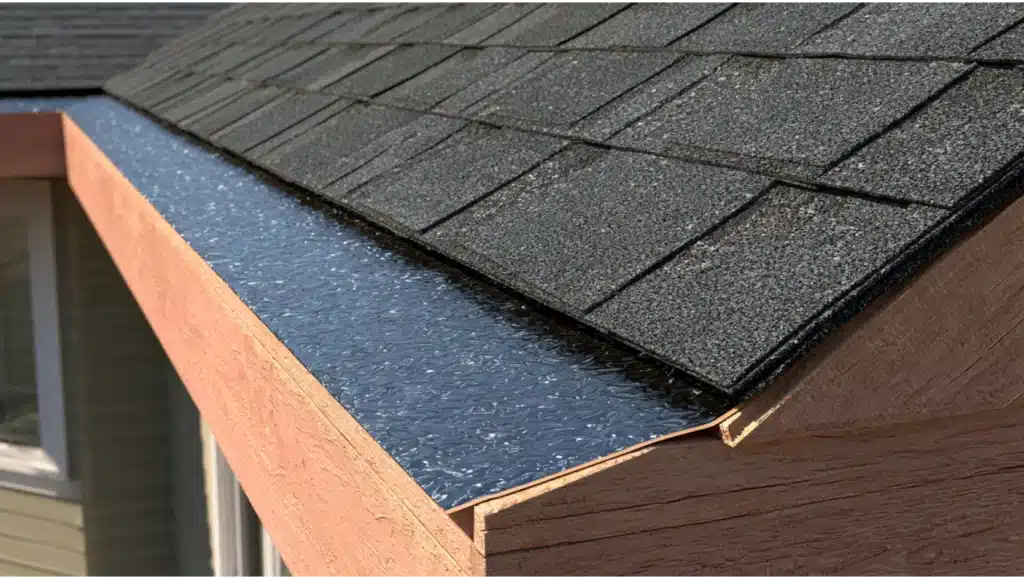
No. This trips up a lot of homeowners, so let’s be clear: ice-and-water shield reduces the risk of a leak if water backs up, but it does nothing to stop the melt-and-refreeze cycle that forms the dam in the first place. It’s leak protection, not ice-dam prevention. It belongs in a complete roof system in ice-dam-prone areas and anywhere local code requires it, typically extending at least 24 inches inside the exterior wall line. Think of it as insurance for when a dam forms, not a reason it won’t.
Are Roof Heat Cables Worth It?
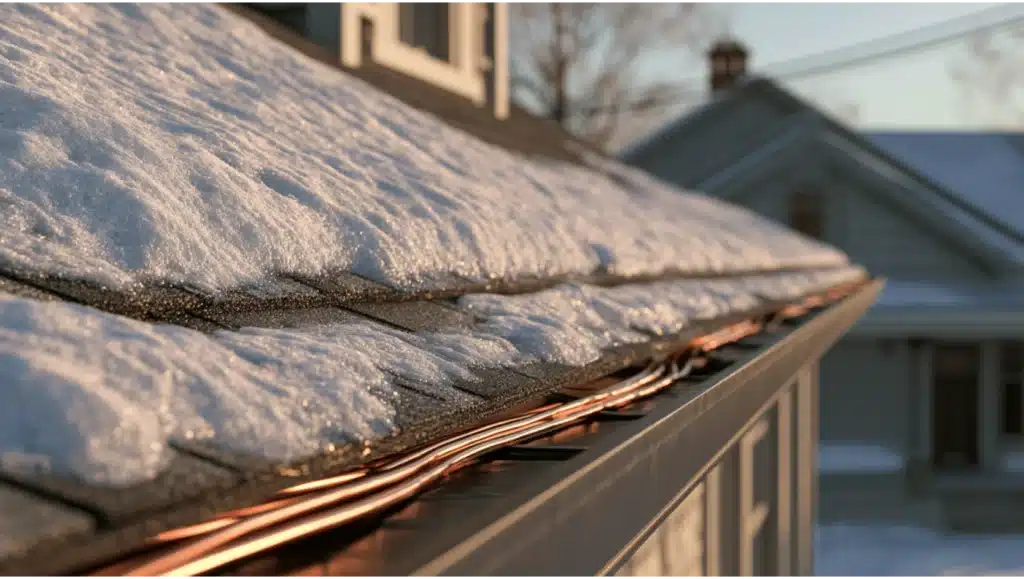
Heat cables have their place. Run correctly, they can carve a drainage path through a known problem area and manage an existing condition. But they don’t fix the building-science cause, they add to your energy bill, and they have to be installed properly to work at all. Treat them as a limited tool for a stubborn trouble spot, not a replacement for air-sealing, insulation, ventilation, and a sound roof. Fix the cause first, then decide if cables are still needed.
A Quick Note for California and Roseville Homeowners
Ice dams are mostly a cold-climate problem. Lower-elevation homes around Roseville and Sacramento aren’t the classic ice-dam market. But plenty of local homeowners own property in the Sierra foothills, the mountains, Idaho, or other snow-prone areas where this absolutely applies. Roof ice dams tend to show up above roughly 30 lb/ft² of ground snow load and become common above 60 lb/ft². In those areas, a roof needs to withstand expected snow loads and shed meltwater cleanly. Code requirements for ice barriers and attic ventilation vary by jurisdiction and snow-load area, so check locally rather than assume. Our Roseville office can assess whether either the roof needs repair, replacement, or prevention upgrades, and handle any interior repair that follows a past leak.
When to Call Cobex Construction Group
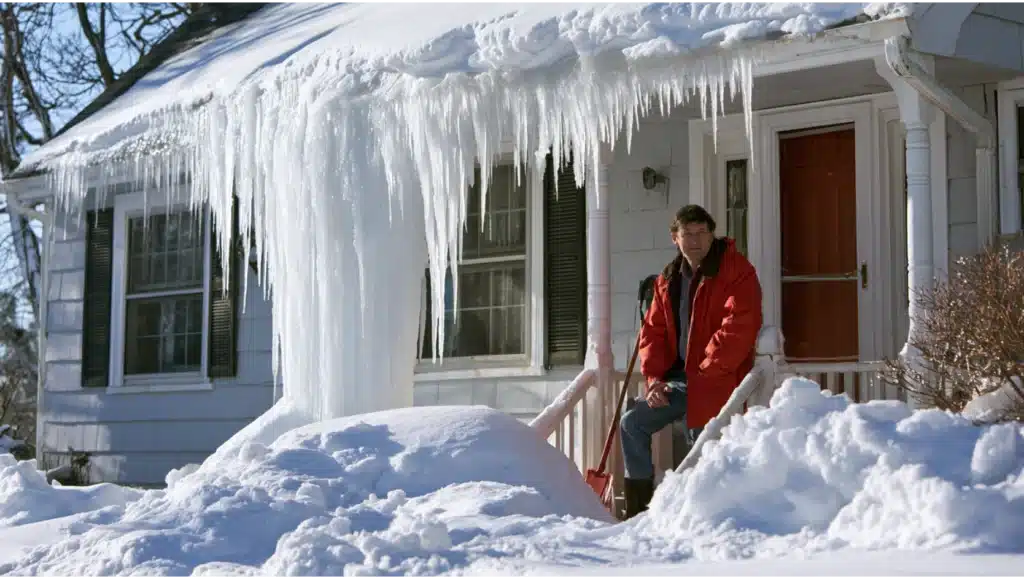
If you’ve had a winter leak, you’re seeing heavy ice at the eaves, or you’ve noticed missing shingles or questionable flashing, that’s the moment for a roof inspection. A professional look can catch underlayment problems and hidden damage early, and point you toward the right long-term fix so you’re not dealing with the same thing next winter.
We’re a family-owned exterior contractor with in-house crews and CSLB License #1031864, and we’ll walk you through what we find in plain language, with no surprises. Schedule a free, no-obligation inspection at 916-745-6699 whenever you’re ready. No pressure, just a clear picture of your roof.